Sanctum Ophidia – Craglorn Trial
- Trial Prep
- First Boss – Possessed Mantikora
- Second Boss – Stonebreaker Troll
- Third Boss -Ozara Lamia
- Fourth Boss – The Serpent + Hardmode
Trial Preparation
- 2 Tanks
- 2 Heals
- 8 Damage Dealers
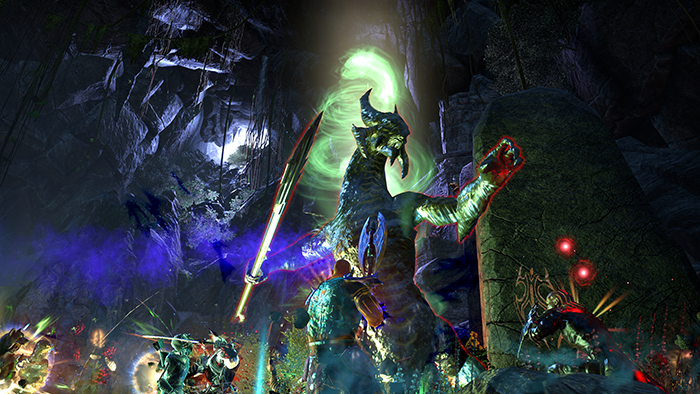
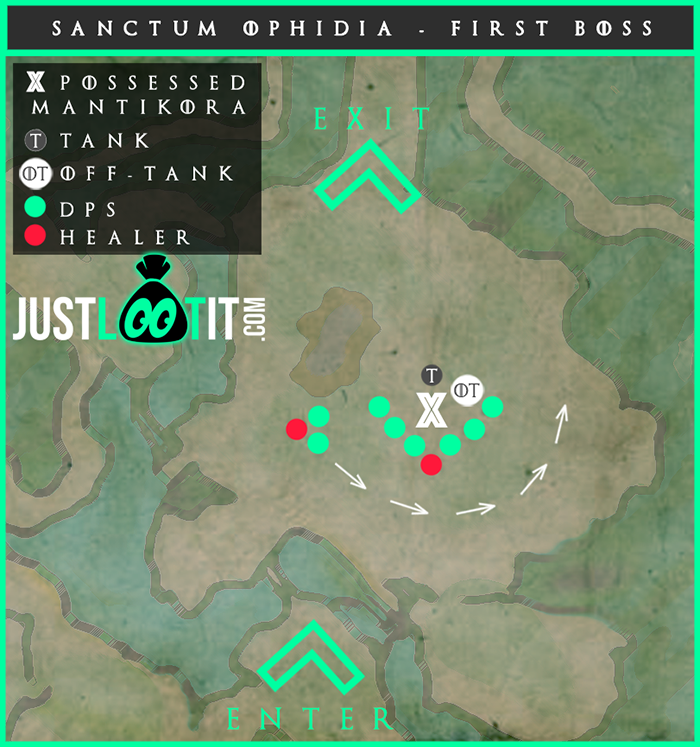
First Boss – Possessed Mantikora
Mechanics
- Popcorn
- a player will glow green and then three red circles, one after another will spawn under that player. they must move out of these circles and away from the group or else they and those near them will be tossed into the air, and likely killed
- Culminating Slam
- There will be two popcorn rounds and then plays should be ready to block the culminating slam.
- Healer must heal players to full health after the explosion to stop the bleeding.
- Black Holes – Can be skipped if group has enough DPS
- There will be black holes that spawn, that if entered, will take you to a sideboss. This boss must be killed within 100 seconds or the Mantikora will become enraged
- Send a tank, healer and two damage dealers down the hole to take care of the sideboss (or 1 tank and 1 damage dealer, it just depends on how much help the tank and damage dealer need)
- Poison Shard Circles – After black hole spawns
- 3 players should stand behind the group to to bait the poison circles. Make sure to not stand in this
- Block this mechanic when it lands on you to prevent being stunned before you are able to roll out
Tanks
- MT: Face boss away from group
- OT: Go down blackhole and tank Sideboss
Healers
- Be ready to dodge the popcorn
- After blocking culminating slam you will need to heal to 100% every player to stop their bleeding
DPS
- Be ready to dodge the popcorn
- Be ready to block the culminating slam
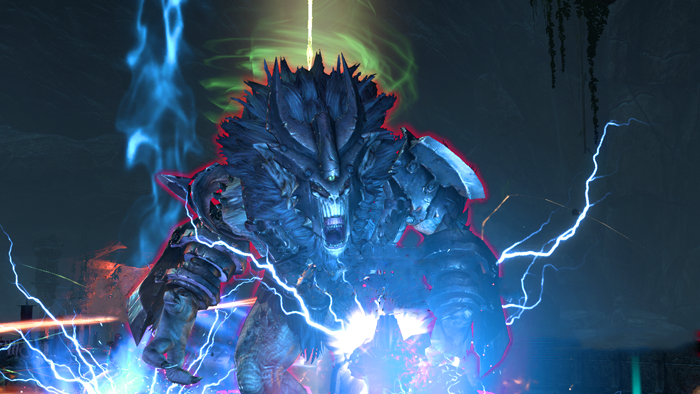
Second Boss – Stonebreaker Troll
*Split into two groups, one for the left gate and one for the right gate.
Mechanics
- Overchargers
- Avoid these by having the main tank run across the bridge to grab the boss and bring it back to the group at the start of the bridge. Do not pull the boss too far, however, or it will reset.
- Three Way Avalanche
- Conal /Line ability the boss projects in front of himself.
- Stomp
- AOE around boss that DPS and heals should step out of
- Stone-Throw
- The troll will hold up his arms and throw stones at random players. If you do not block during this mechanic and the stone hits you, you will probably die.
Tanks
- Main Tank – Run across bridge and bring back the boss to the group
Healers
- Stay close to the boss so that the boss does not jump on you
- be ready to block or dodge the boss
DPS
- Stay close to the boss so that the boss does not jump on you
- Be ready to block or dodge the stomp
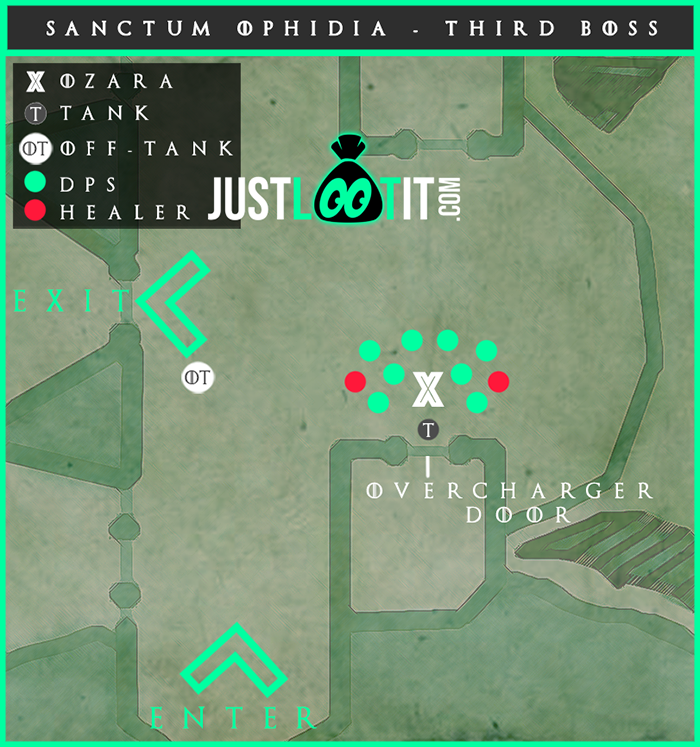
Third Boss – Ozara Lami
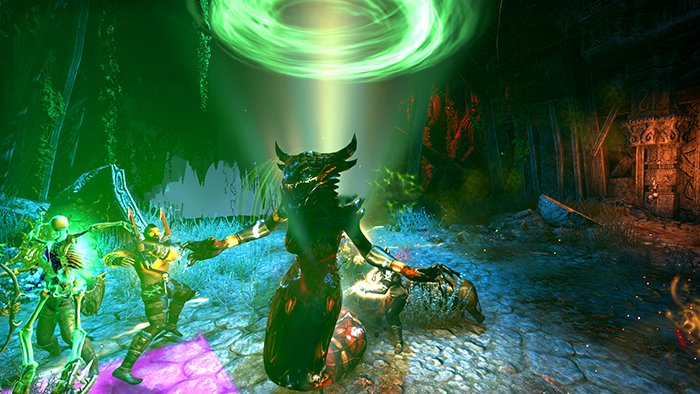
Mechanics
- Adds
- In this fight any add killed, will respawn after 15 seconds, which is why the off tank grab the adds and hold them off to the side so the group can ignore them and focus on the boss.
- Pin Bolts
- The boss will start pinning two people at a time. Nearby players will be need to unpin their friend
- The longer the fight, the more people will get pinned each time
- Healers and tanks should immediately announce if they are pinned
Tank
- MT will hold the boss at the door where the overcharges spawn so they get cleaved down immediately
- OT will grab the War Priest, Archer and Troll and hold them safely off to the side while facing their attacks away from the group.
Healers
- Announce if you get pinned
- Be ready to heal when overchargers spawn in
DPS
- Be sure to cleave or focus down the overchargers every time they enter the battle
Last Boss – The Serpent
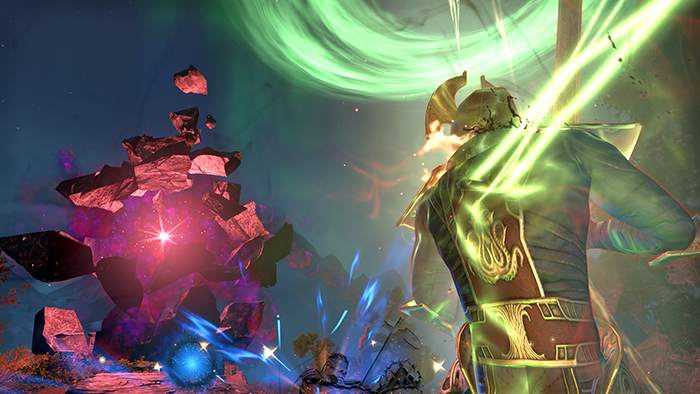
Mechanics
- Poison Phase
- The boss will go underground and reappear in the center of the platform, signalling the poison phase
- Followed by cleave attack
- Totems
- After the first poison phase a blue and green totem will spawn.
- The Green totem will pull you toward it, you must dodge roll back toward the group
- The Blue Totem will place the magicka bomb on someone, causing them to glow blue. They have 15 seconds to use all of their magicka, if they fail to lose enough magicka they will explode
- If group dps is not high enough to ignore totems, drag the boss to them and cleave them down
- Lamia
- After the first poison phase the lamia will spawn. Do not attack the lamia, if it dies it will explode
- Mantikoras
- Main tank can taunt the mantikora when it spawns so the group can ceave it down
- With the second Mantikora will come the pink orbs. Every player must grab one orb, and only one.
- Execute – 4% HP
- Last poison phase, healers should have an ultimate ready
- Damage dealers should be ready to execute asap
- HARDMODE
- Boss will raise his arm into the air holding up a green ball. When the boss releases the ball everyone must run away from the boss. The timing is important, you must not move too early, or too late. exactly when the boss releases the ball. as soon as the aoe explodes on the floor you may return to the boss and resume damage.
Tanks
- MT – Face the serpent away from the group to avoid cleaving down your group
- Pull boss to totems if you need to kill them
- OT – Grab the Lamia and keep it away from the group
Healers
- Be ready to heal through poison phases
- Have ultimate ready for execute at 4%~ as the poison phase does more damage than the ones before it
- Be ready to grab ONE pink orb when second mantikora spawns
- HM: Be ready to run from boss at the moment he releases the green orb
DPS
- Cleave down Mantikoras when MT taunts it to boss
- Be ready to grab pink orb when second mantikora spawns
- HM: Be ready to run from boss at the moment he releases the green orb
More Guides!
[siblings exclude=”current”]