Hel Ra Citadel – Craglorn Trial
- Trial Prep
- First Boss – Ra Kotu
- Left Boss – Yokeda Rok’dun
- Right Boss -Yokeda Kai
- Fourth Boss – The Warrior + Hardmode
Trial Preparation
- Create Two Groups
- Left Group: Main Tank, Healer, 4 Damage Dealers
- Right Group: Off Tank, Healer, 4 Damage Dealers
- After the group defeats the first boss the left group will go into the left gate, and the right group into the right gate.
First Boss – Ra Kotu
Mechanics
- Gust
- Summons whirlwinds on the ground that the healers will need to heal through
- Six Sword Assault
- Ra Kotu will throw four swords out that will boomerang back to the boss hitting players twice if they are in the wrong spot. To avoid this stand directly behind the boss.
- Spinning Attack
- At 35% Ra Kotu begins to spin, back away from the boss and continue damage.
Tanks
- Face Ra Kotu away from boss
- Be prepared for huge damage at 35% when the boss begins his spinning attack
Healers
- Stand directly behind the boss to avoid Six Sword and heal your stack of DPS and tank
- Pay special attention that you back away from the boss at 35% and keep your tank healed during the spinning attack
DPS
- Stand Directly behind boss to avoid Six Sword Assault. Block if it hits you to avoid dying from the return flight.
Split into two groups, one for the left gate and one for the right gate.
Left Boss – Yokeda Rok’dun
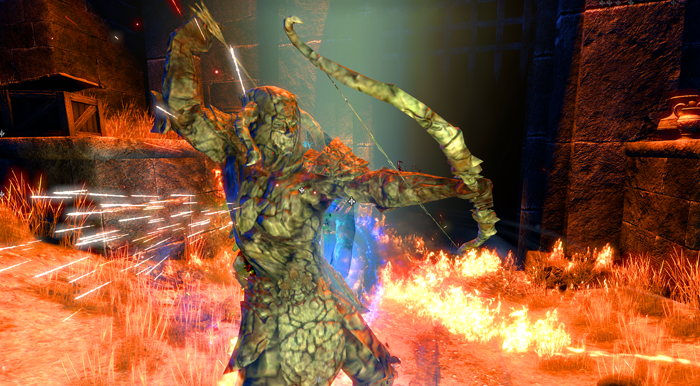
Mechanics
- Fire Circle
- Boss will place fire circles on the ground. Don’t stand in them
- Welwa Adds
- Welwas will need to be tanked and killed, especially when they become enraged
Tanks
- Grab welwa and stack them on the boss so that he does not run away from your dps to rez them
Healers
- avoid standing behind the welwas as they will do a reverse-cone damage ability
DPS
- avoid standing directly behind welwa because of the cone damage they do behind them.
- be prepared to bash the flame shapers
- focus welwas that become enraged, otherwise cleave them down with the boss
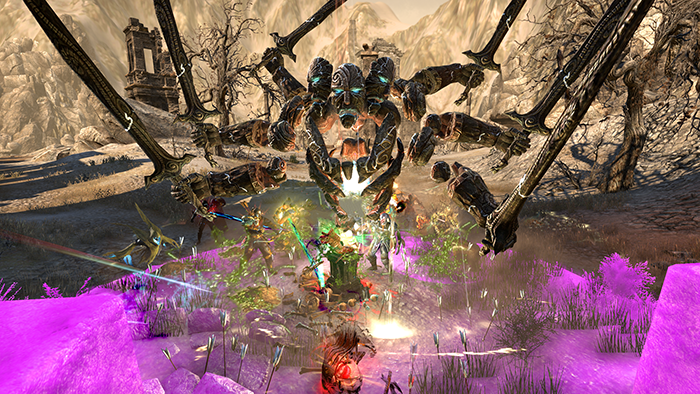
Right Boss – Yokeda Kai
Mechanics
- Boss Split
- The boss will split into four copies. Destroy the images and resume focus on the real boss.
- Fire Attack
- The boss and his adds will occasionally channel a fire ability that needs to be interrupted.
- Meteor
- At any point a meteor may rain down on someone. The safe thing to do is block, but feel free to try to roll out as well.
- Ground Fire Explosion
- The boss will occasionally release an explosion that you must get out of. It will one shot you
Tank
- Tank the boss
- Be ready to bash the bosses channeling ability
Healers
- Keep party topped off in case someone needs to block a meteor
- Be ready to bash the bosses channeling ability
DPS
- Be ready to bash the bosses channeling ability
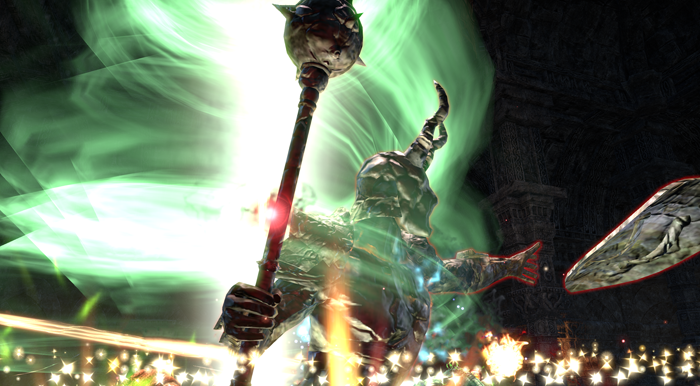
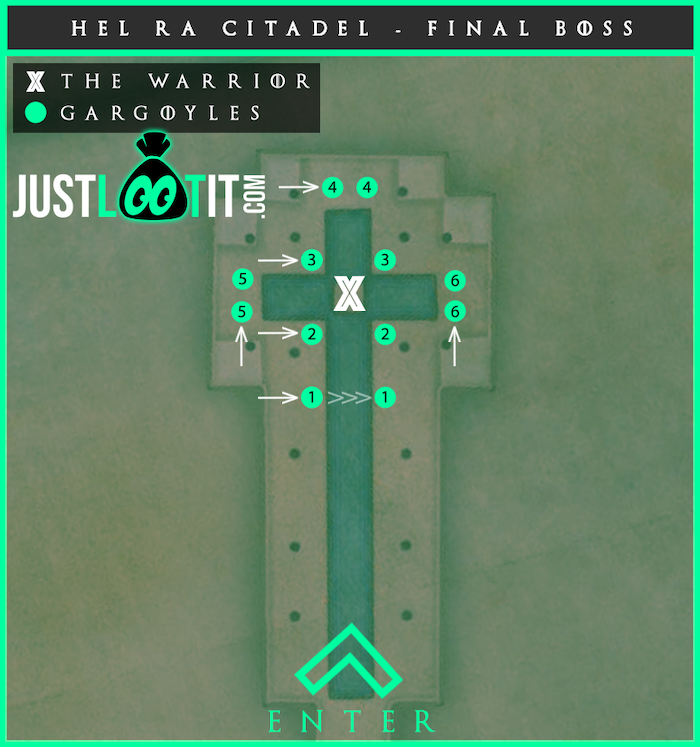
Final Boss – The Warrior
Mechanics
- Circles
- There are two circles on the ground in this room.
- The yellow circle will provide your group with increase health recovery, but you should use the Blue Circle.
- The blue circle will provide the group with a damage buff.
- At 70% the boss will remove the circle
- There are two circles on the ground in this room.
- Shield Attack
- The boss will throw his shield and it will boomerang back. Be sure to get out of the way when you see the forecast on the ground
- Leap Attack
- If a member of the group stands too far away the boss will leap onto them. If this happens be sure to get out of the aoe forecast on the ground or you will die. Avoid this by staying close enough to the boss.
- 35% Execute Phase
- Boss will explode at 35% removing all remaining adds. Spread out and block
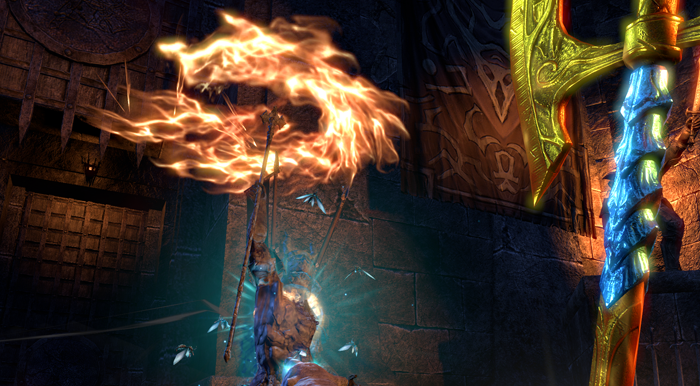
- Shehai Storm
- The boss will raise his sword in the air and doe AOE damage to the room for 5 seconds. The group must spread out and heal/block/shield
- Cleave
- Immediately after the Storm the boss will always do a 360 degree damage attack. Be sure to back away from the boss after the storm every time, to avoid this cleave attack.
- Frontal Line Attack
- The boss will slame his sword into the ground and blast a line of damage toward the group. Be sure to get out of the way
- HARDMODE
- To Activate Hardmode destroy the statues before the boss room.
- Gargoyle statues in the room will come to life throughout the fight if you don’t use the boss to break them by having him Jump onto them or throw his shield through them.
- Fossilize – the boss will randomly fossilize players. It is VERY IMPORTANT they do not use the synergy to free themselves. It will kill everyone nearby. When someone is fossilized you have two options
- Have boss throw his shield to free them.
- Everyone move away from that person and then let them synergize to break free
Tanks
- Main Tank
- Hold boss just outside the blue circle so the boss is outside of it while your DD are inside of it
- HM: position the boss such that he faces the 2 statues at a time when he throws his shield until you have broken as many gargoyle statues as possible.
- Off Tank
- Round up adds and maneuver them into the cleave damage on the boss
- HM: Stack gargoyle on boss
Healers
- Be careful not to stand separate from the group or the boss will jump on you
- HM: If you are fossilized wait for the boss to free you with his shield or until your team moves a safe distance away from you before you synergize!
DPS
- This is not a DPS race, there is no enrage. So focus first on staying alive and out of the red
- HM: If you are fossilized wait for the boss to free you with his shield or until your team moves a safe distance away from you before you synergize!
More Guides!
[siblings exclude=”current”]