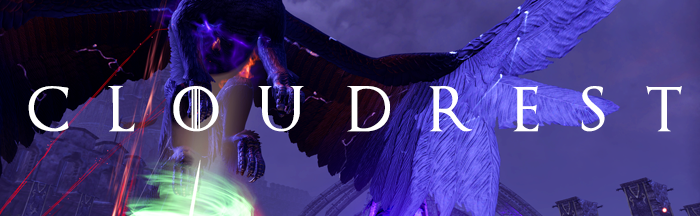
Cloudrest – Summerset Trial
Trial Preparation
- Assign two groups of 3 damage dealers each to portals
- CR+0
- 2 Tanks
- 2 Healers
- 8 Damage Dealers
Galenwe – Ice
Mechanics
- As with every fight, start by eliminating the Creepers (tentacle mobs) and other adds
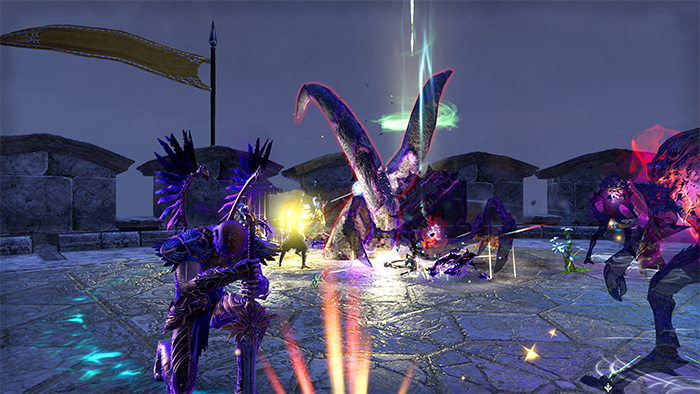
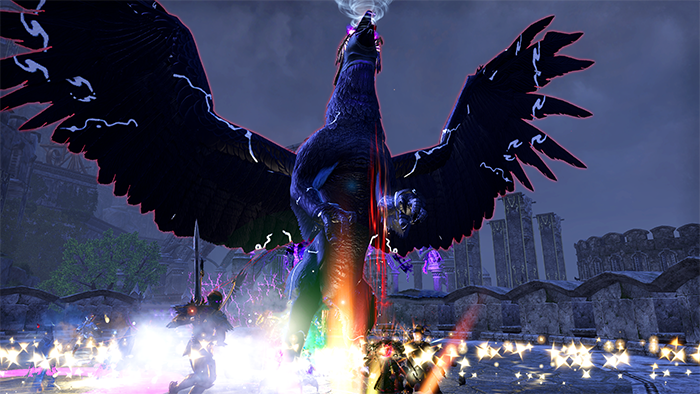
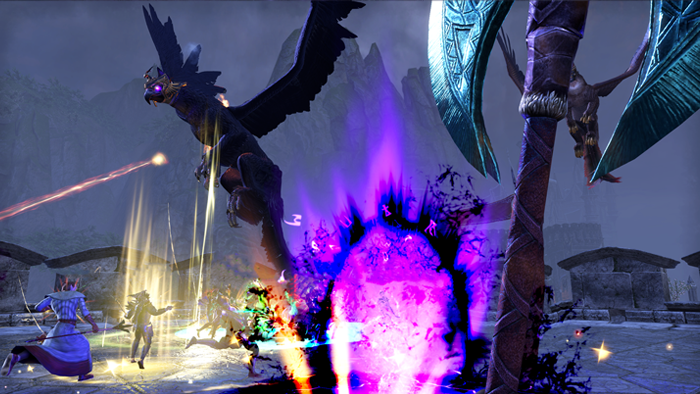
- Gryphon
- One tank should grab gryphon and face it away from the group
- Damage dealers should focus the gryphon any time it is on the ground
- Galenwe
- One tank should tank galenwe.
- Hoarfrost
- The gryphon will put hoarfrost on a random player.
- Hoarfrost will apply a dot to the player until they drop the hoarfrost
- after 6 seconds the player will be prompted with a synergy to drop the hoarfrost, and should do so right away to avoid dying
- Ice Comet
- 3 Players will have an ice comet cast on them, they should move away from each other to prevent their AOEs from overlapping. Failing to do so will result in death
Tanks
- Grab bosses and turn them away from group
Healers
- Keep your stacked group topped off.
- If your portal team is struggling, use an ult on them before they go down.
DPS
- Focus the gryphon when it lands.
- Focus Galenwe any time the gryphon is in flight
Siroria – Fire
Mechanics
- As with every fight, start by eliminating the Creepers (tentacle mobs) and other adds
- Gryphon
- One tank should grab gryphon and face it away from the group
- Damage dealers should focus the gryphon any time it is on the ground
- Siroria
- One tank should tank Siroria.
- Fire Meteor
- A random player will get a yellow circle under them. The damage taken is shared by the players inside.
- At least 3 players must be in the circle to survive
Tanks
- Grab bosses and turn them away from group
Healers
- Keep your stacked group topped off.
- If your portal team is struggling, use an ult on them before they go down.
DPS
- Focus the gryphon when it lands.
- Focus Siroria any time the gryphon is in flight

Relequen – Shock
Mechanics
- As with every fight, start by eliminating the Creepers (tentacle mobs) and other adds
- Gryphon
- One tank should grab gryphon and face it away from the group
- Damage dealers should focus the gryphon any time it is on the ground
- Relequen
- One tank should tank Relequen.
- Voltaic Overload
- You will see the floor turn blue around your character and will need to swap to the other bar for 10 seconds. Failing to do so will likely kill members of your group
Tanks
- Grab bosses and turn them away from group
Healers
- Keep your stacked group topped off.
- If your portal team is struggling, use an ult on them before they go down.
DPS
- Focus the gryphon when it lands.
- Focus Relequen any time the gryphon is in flight
Z’Maja
Mechanics
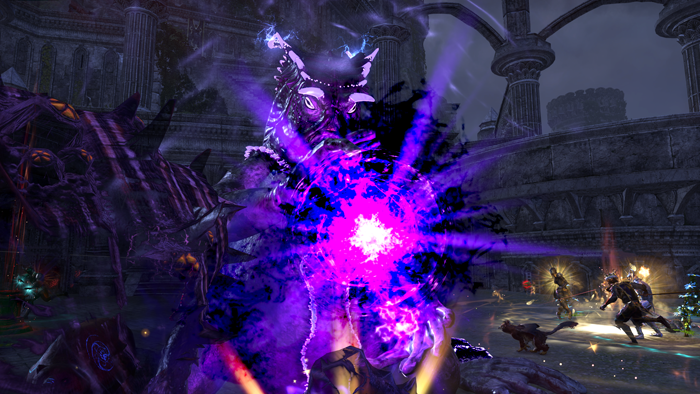
- Nocturnal’s Favor
- Boss will charge up a purple ball and shoot it at someone. Will kill anyone except tank
- Orbs
- Purple orbs will spawn and need to be killed by the group before they touch anyone
- Failure to kill the orb will result in it blowing up on them and putting dots on people
- Kite Mechanic – A Moving AoE
- One healer will stand just behind the group to kite this mechanic as Z’Maja will always cast this on the farthest player away.
- Shades
- In Veteran when a player dies a shade will spawn. The group must kill the shade before resurrecting the player.
- Creeper Tentacles – 40% HP
- These must be killed right away any time they spawn
- Execute Phase
- After killing Z’Maja her shade will rise from the portal and must be focused down.
- Creepers, Orbs, an Kite mechanics will continue to spawn
- Healers should be the farthest from the boss so they are hit with the kite mechanic
- If doing +1 or beyond AND have Siroria (fire meteor) mechanic you will need to do this. DPS and Heals will split into two seperate stacks. It is important two people with the fire meteor are not in the same group (the yellow circle that splits damage). If they are, one needs to change groups.
- Priorities
- Orbs
- Tentacles
- Spider Monstrosity
- Mini Boss ( +1 or Higher)
Z’Maja +1
- 2 Healers
- 3 Tanks (Z’Maja, Mini, Portal)
- Mini will arrive at 50% Z’Maja HP
- 7 Damage Dealers
Z’Maja +2
- 2 Healers
- 3 Tanks
- Mini’s will arrive at 66% and 33% Z’Maja HP
- 7 Damage Dealers
Z’Maja +3
- 2 Healers
- 3 Tanks
- Mini’s will arrive at 75%, 50% and 25%
- 7 Damage Dealers
Tanks
- MT / Portal Tank: Tank Z’Maja
- Be sure to interrupt Z’Maja to prevent her from dropping group members from the sky
- MTs / Portal Tanks: You will be responsible for going into the portal and tanking the Shade
- In Veteran: Two tanks will need to alternate between MT and Portal tank. If the same tank goes down portal twice in a row the debuff will kill them.
- Also you will need to bash the shade any time it tries to channel to prevent it from dropping your group members from the sky
- Nocturnal’s Favor is a non-dodgeable hard hitting charged up attack. Make sure you are ready for the incoming damage when you see Z’Maja charging it up.
- OT: (Only on +1 and higher) – Grab mini-bosses and ads and stack on Z’Maja
Healers
- Healers are responsible for kiting the kite-mechanic behind the group. Ideally you are close enough to the group to get your own heals, but far enough that they are not hit by the kite-mechanic
DPS
- Orbs and Creepers take priority any time they are up
- Adds should be cleaved down with the Boss.
- +1 and higher: The mini should be killed before the next mini-phase is triggered. Be sure to single target the mini if the next phase is close See phase percentages above
- Portal: Break crystals to expose orbs
- Do not pick up the orb until a shard is sent to the portal. The orbs hurt a lot while you are carrying them
- each exposed orb also hurts you a little. all 3 exposed at once can hurt a lot
More Guides!
[siblings exclude=”current”]